A guide to installing school furniture

Step 1: Assessment and Planning
Before initiating the installation process, conduct a thorough assessment of the classroom layout and design. Consider factors such as room dimensions, student capacity, and teaching requirements. Develop a detailed plan for the placement of furniture, taking into account accessibility, traffic flow, and ergonomic considerations.
Step 2: Procurement and Delivery
Once the assessment and planning phase is complete, procure the necessary furniture items from reputable suppliers or manufacturers. Verify the accuracy of the order and ensure that all components and hardware are included. Coordinate with the delivery team to schedule a convenient time for furniture delivery to the school premises.
Step 3: Unpacking and Inspection
Upon delivery, carefully unpack each furniture item and conduct a thorough inspection for any shipping damage or defects. Check that all components are intact and undamaged, including legs, screws, bolts, and other hardware. Report any discrepancies or issues to the supplier immediately for resolution.
Step 4: Assembly
Follow the manufacturer's assembly instructions meticulously to ensure proper construction of the school furniture. Use the appropriate tools and equipment as recommended by the manufacturer. Pay close attention to details such as alignment, fastening, and stability to ensure the structural integrity of the furniture pieces.

Step 5: Placement and Arrangement
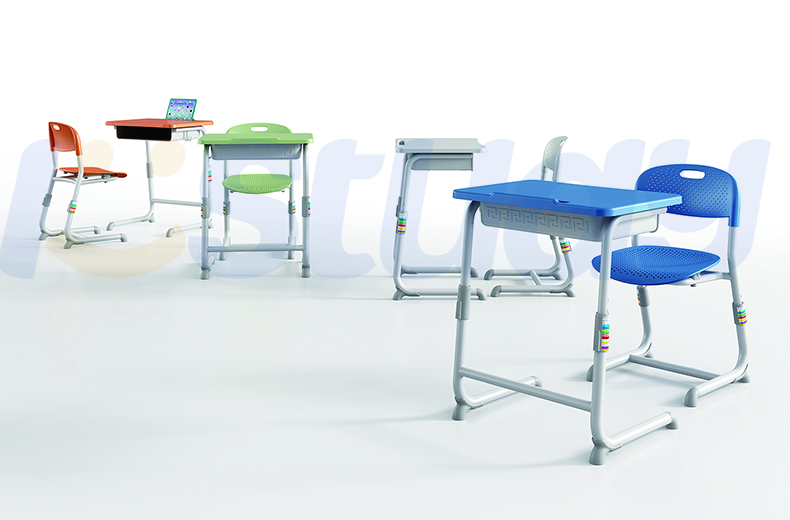
Once assembled, carefully position the school furniture within the classroom according to the pre-established plan. Arrange desks, chairs, tables, and other items in a manner that maximizes space utilization and promotes a conducive learning environment. Ensure that furniture placement allows for easy movement and interaction among students and teachers.
Step 6: Anchoring and Safety Measures
For certain furniture items, such as bookshelves, cabinets, or larger tables, consider anchoring them to the floor or wall to prevent tipping or displacement. Follow manufacturer recommendations and safety guidelines for securing furniture to ensure stability and minimize the risk of accidents or injuries.
Step 7: Testing and Inspection
After installation, conduct thorough testing of each furniture item to ensure proper functionality and stability. Test chairs and desks for weight capacity and durability, and ensure that adjustable features work smoothly. Inspect all fastenings and connections to verify their integrity and tightness.

Step 8: Documentation and Maintenance
Document the installation process, including assembly instructions, inspection reports, and any relevant warranties or certifications. Keep detailed records for future reference and maintenance purposes. Provide training to school staff on proper furniture use, care, and maintenance to prolong the lifespan of the installed items.
Installing school furniture requires careful planning, attention to detail, and adherence to safety standards. By following these step-by-step guidelines, educational institutions can ensure the successful installation of furniture that enhances the learning experience for students and promotes a safe and comfortable classroom environment.

